31/10/2026
Common File Errors Before Sticker Printing
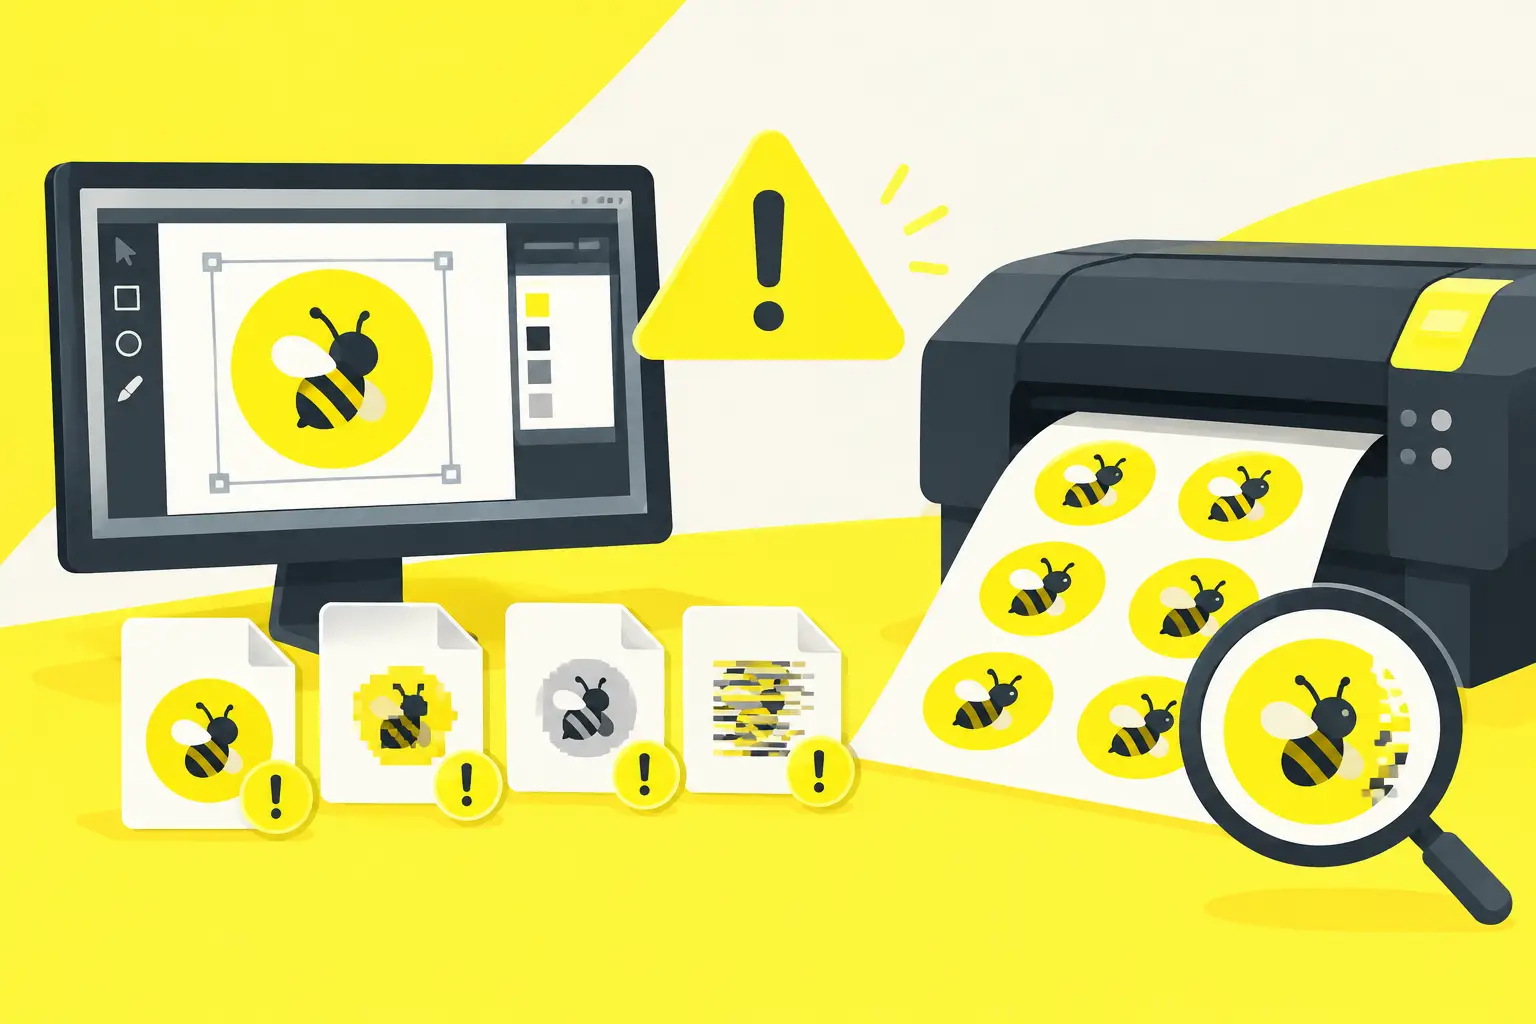
A label can have excellent graphics yet still disappoint when the printed version has text too close to the cut edge, blurry logos, or brand colors that don't match expectations. File errors before sticker printing often aren't design flaws, but technical details that don't show on screen. A brief check, however, can protect your packaging, promotional materials, and delivery schedule. Sticker production isn't the same as displaying a digital image. The printing machine, chosen vinyl, lamination, and cutting are all physical processes. That's why it's worth optimizing your file specifically for the finished, tangible product before uploading—especially with product labels, small logo stickers, or hundreds of identical pieces. Why does a properly prepared file matter so much? A good print file delivers predictable results. The correct size, resolution, color mode, and cutting settings reduce the chance that the finished sticker will differ from what you approved. This matters from a business perspective too: mandatory information on a honey label must remain readable, while fine lines and color shades on a cosmetics label are part of the brand feel. File checking can filter out many problems, but it doesn't always replace careful preparation. The manufacturer might flag low resolution or missing bleed, but the final size, correct text, and approved brand color remain your decisions. For new product lines, complex cut shapes, or important campaigns, approving a print preview adds extra security.
Common File Errors Before Sticker Printing
Low Resolution Image for the Final Size
Logos saved from websites, images downloaded from social media, and screenshots are generally not prepared for print purposes. A graphic can appear sharp on your monitor, but if enlarged to your desired sticker size, the edges will become pixelated or blurry. For raster images at the final printing size, 300 dpi resolution is typically recommended. The final size is crucial: a 300 dpi image that's 3 cm wide won't automatically work for a 10 cm sticker. For logos, icons, and text, vector PDF, AI, SVG, or EPS files are particularly advantageous because lines stay clean when scaled. Visit getstickerz.eu/#termekek to review product specifications and file requirements.
Missing Bleed and Overly Tight Safety Zone
Stickers are cut around their edges after printing. The cutting is highly accurate, but manufacturing always requires a small tolerance. If the background ends exactly at the finished size edge, a thin white line may appear next to the cut. Bleed prevents this: the background color, pattern, or photo must extend beyond the cut line. As a general starting point, leave at least 2-3 mm of bleed on all sides. An inner safety zone is equally important. Text, QR codes, thin borders, and essential graphic elements should stay at least 2-3 mm inside the cut edge. On a small, say 30 mm round sticker, this distance might seem proportionally larger, but it protects readability. A complete border deserves special attention. If the border should appear uniformly thin everywhere, even minimal cutting variation becomes visible. In such designs, it's often better to omit the border, make it thicker, or place it well within the safety zone.
Incorrect Color Mode and Misunderstood Brand Colors
Screens display colors using RGB light, while printing typically works with CMYK inks. Because of this, very bright neon greens, blues, or deep purples may look more muted when printed. This isn't necessarily a file error, but a natural difference between color spaces. Prepare your file preferably in CMYK color mode and use an embedded color profile if your graphics program supports it. For color-critical branding, also consider the specific material. Glossy vinyl provides stronger contrast and a shinier effect, while matte finish offers a more elegant, less reflective appearance. Lamination, beyond durability, can subtly influence the surface's visual feel.
Wrong Aspect Ratio or Inaccurate Order Size
The physical size of your graphics file should match the size specified in the configurator. If you designed a label for 60 x 40 mm but ordered 60 x 30 mm, you risk disproportionate resizing or unexpected cropping. For a round sticker, what falls outside the square work area also matters—specifically, what remains inside the circle. For product labels, measure the available surface, including curves, edges, and the placement of caps or closures. The same size behaves differently on glass, jars, and pouches. A small test sample or a printed and cut paper size template quickly shows whether the label truly fits comfortably. Visit getstickerz.eu/#konfigurator to verify your exact dimensions before finalizing your order.
Missing or Incorrect Cut Contour
For custom-shaped, contour-cut stickers, the cut line is separate manufacturing information. It's not the same as the graphic edge and shouldn't be created from random lines. The cut contour should be closed, continuous, and avoid unnecessarily tiny points, narrow notches, or parts running too close together. Especially on small stickers, an overly detailed shape doesn't always yield better results. A fine, jagged edge or thin protruding element becomes more fragile after cutting and may be difficult to peel. In such cases, a simplified contour often produces a more premium, more usable sticker. There's also a difference between kiss-cut and die-cut finishing: with kiss-cut, the backing sheet remains; with die-cut, the sticker arrives fully contour-cut.
Non-Embedded Fonts and Hidden Editing Elements
When submitting editable PDFs or graphics files, non-embedded fonts may be substituted. This can alter formatting, line breaks, or even the character shape of a brand name. The safe solution is to embed fonts in your final file or convert them to outlines. Before exporting, disable guides, unwanted layers, crop marks, and hidden objects. Also check that black text is truly readable. With small font sizes, overly thin line weight, negative text, or a detail-heavy background can easily reduce contrast.
Quick Check Before Upload
Before placing your order, open the final exported PDF or image file, not just the program's preview. Check the size, correct text, bleed, safety zone, image sharpness, and cut contour. View at 100% zoom first, then zoomed out: the first shows technical errors, the second shows the overall appearance. If the sticker goes on packaging, review the size of mandatory information, barcodes, and QR codes. The code must not only be flawless in the file but also scannable at the finished size. Take a photo or test the sample code with another phone under proper lighting conditions. In the GetStickerz ordering process, files are reviewed within 24 hours, and a print preview can be requested for approval if needed. This is especially helpful for first orders, new cut shapes, or when the label is for direct product sales. Fast production works most reliably when the approved design is truly final. Visit getstickerz.eu/kapcsolat if you have questions about file preparation or need guidance.
A well-prepared file doesn't slow down your order—it makes it more predictable. Spend a few minutes on checking, and your finished sticker will display exactly the brand, information, and quality you want your customers to receive. Visit getstickerz.eu/rolunk to learn more about our quality standards and production process.