05/10/2026
How to Apply Labels to Glass Without Bubbles
The Importance of Perfect Label Application on Glass
The appearance of a honey jar, artisanal sauce, or cosmetic product often comes down to the label. A label applied to glass looks professional when the glass is spotlessly clean, the label is positioned precisely, and it adheres evenly to the edges. A single air bubble, misaligned graphics, or a peeling corner can diminish the perceived value of your product. You don't always need an industrial labeling machine to achieve good results. With short runs, proper preparation, the right label material, and a reliable application method can prevent many defects. This is especially important for producers and brands preparing products for sale in small to medium quantities on tight schedules. Visit getstickerz.eu/#termekek to explore the right label options for your glass containers.
What Determines Label Adhesion on Glass?
Glass may seem like a simple surface at first glance, but several factors actually influence adhesion. Dust, fingerprints, moisture, and greasy residue left from manufacturing can all weaken the adhesive. A freshly washed glass isn't necessarily ideal either if water spots or dish soap residue remain on the surface. Temperature also matters. Labels adhere less easily to cold glass in a cold storage room or straight from the refrigerator, and the adhesive only reaches full strength slowly. Most self-adhesive labels should be applied in environments close to room temperature and dry. If the glass later goes into the refrigerator, a properly applied label usually tolerates this well, but at the moment of application, a surface that's too cold poses a risk.
Not only the glass, but the label's construction also matters. A dry, indoor-use paper label serves a different purpose than a vinyl label that can withstand cooling, moisture, or frequent handling. For beverages, cosmetics, bathroom products, and outdoor glass containers, water-resistant, UV-resistant material may be the safer choice.
Preparation Before Application
Precise positioning doesn't start by peeling off the label—it starts by preparing the glass. Wipe the surface with a lint-free cloth and a cleaner that doesn't leave an oily coating. Alcohol-based cleaning works well, but only begin labeling after it's completely dry. Your work surface should be clean and stable. If you're labeling dozens or hundreds of glasses, it's worth arranging them in one direction and determining in advance where the graphics should go. On cylindrical glass, the seam, cap marking, or a small, invisible reference point can help ensure uniform positioning. Prepare at least one sample piece. Apply the label, check the height, readability, and that the graphics don't run too close to the glass's curve. These few minutes are particularly valuable if the label's back includes mandatory information, ingredients, barcodes, or batch numbers.
Step-by-Step Label Application to Glass
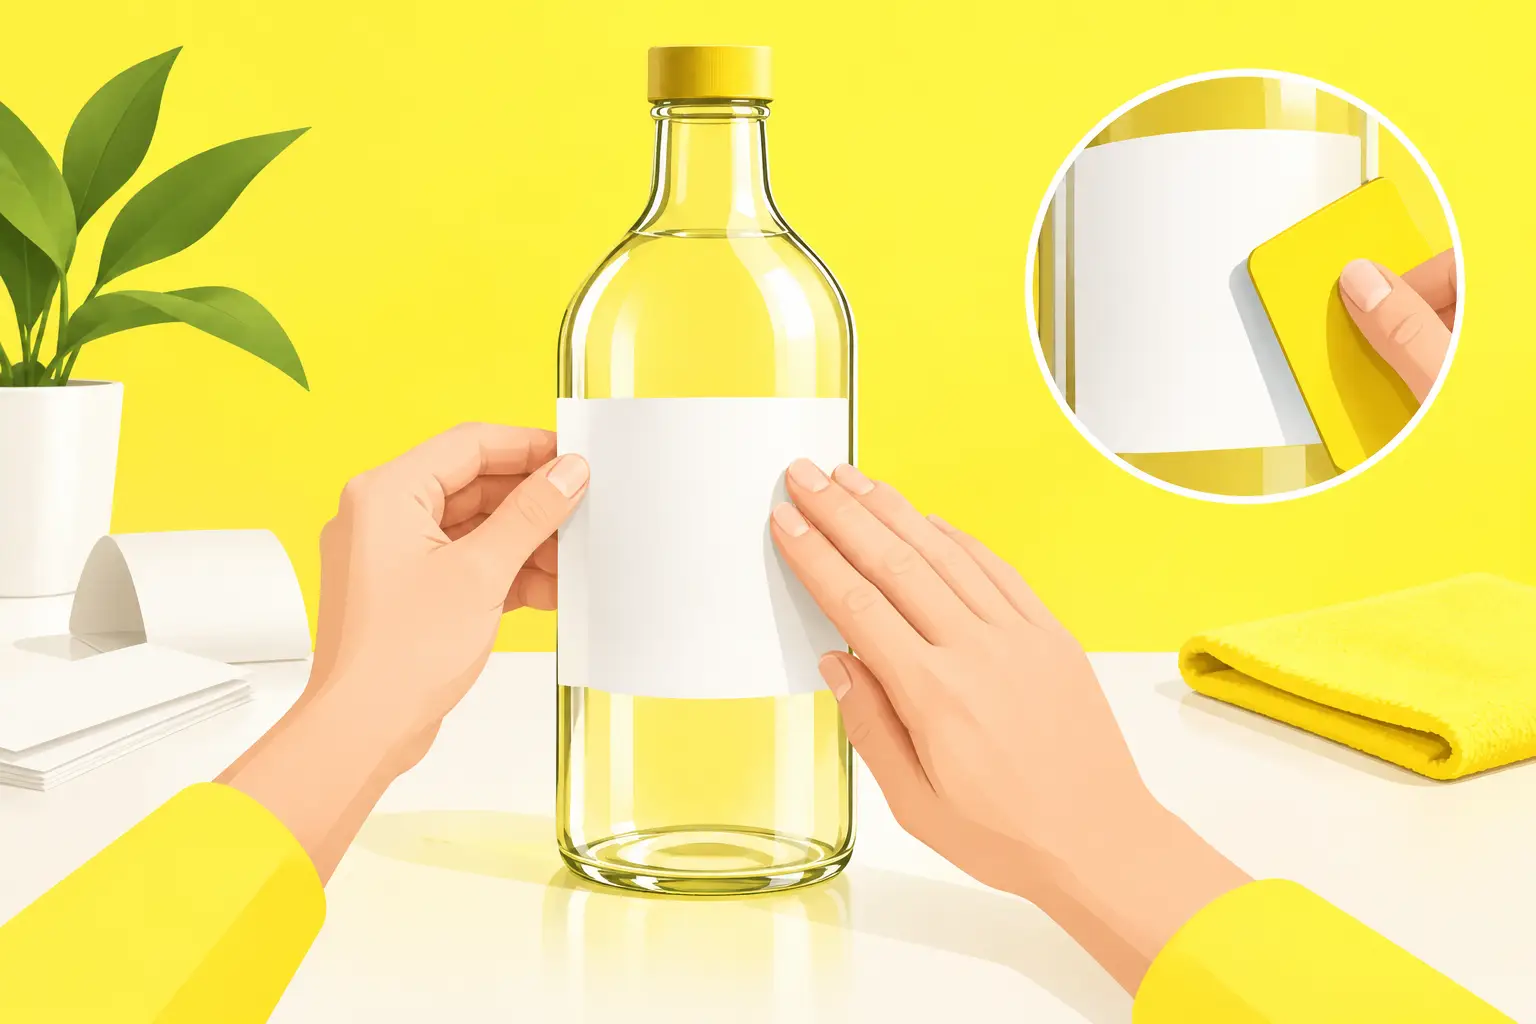
The key to a reliable method is not to apply the entire label to the glass at once. On cylindrical shapes, applying the full surface in one motion easily causes misalignment or bubbles. First, align the label to the glass while the release paper is still attached. Mentally mark the center point and desired height. Then peel back only a small portion of the release paper—typically 2-3 centimeters wide. Secure this starting section in the center of the glass or along the marked vertical line. If the position is correct, slowly rotate the glass with one hand while gradually peeling off the release paper with the other. Simultaneously, smooth the label onto the surface with a soft felt squeegee, plastic card, or clean microfiber cloth, working from the inside outward. At the end, pay special attention to the edges. Press them firmly, but don't use your fingernail as it could damage the print or lamination. After application, allow time for the adhesive to set. Avoid placing glasses immediately in the refrigerator, humid spaces, or shipping boxes. You can configure your custom labels at getstickerz.eu/#konfigurator to ensure the perfect fit for your containers.
Challenges of Cylindrical Containers
Smaller diameter bottles and jars present greater challenges because the label must follow the curve more tightly. In these cases, a label that's too wide or too rigid can easily wrinkle or separate at the ends. Always adjust label size to match the glass diameter. If the graphics wrap around, planning the meeting point is critical. The label's ends should not overlap randomly, and important text should not be positioned at the closure. For small runs, a simple positioning template can be useful to hold the glass and label at a consistent height.
Labeling Square and Tapered Containers
Flat-sided, square glass is generally easier to label because it has a clear orientation surface. However, avoid very wide labels near corners. If the label extends over the edge, long-term adhesion may weaken, especially with frequent handling. Tapered glass is more complex. Because the top and bottom diameters differ, a standard rectangular label can wrinkle. For this shape, custom cutting, a narrower label, or graphics adapted to the bottle's geometry produces better results. It's worth requesting a proof sample before larger quantities go into production.
Choosing the Right Label Material for Glass Products
Material selection is determined by how the product will be used. For jams stored indoors or gift bottles, proper paper labels can be elegant and cost-effective. However, if the glass goes into a refrigerator, gets wet, sits in an ice bucket, or is used in bathrooms, vinyl offers more security. Glossy vinyl returns colors more vibrantly and works particularly well with strong contrast, product photos, or colorful branding. Matte finishes offer a more restrained, premium feel and produce less glare in strong light. Optional lamination provides extra protection against scratching, moisture, and frequent friction. Custom-cut labels are a good choice if the shape is part of the brand—such as a honeycomb, leaf, or distinctive logo outline. Labels on rolls versus arc-shaped sheets are convenient to handle for short runs, while individually cut versions can also serve as promotional stickers outside the packaging.
Common Mistakes and Quick Fixes
Bubbles are usually caused by applying the label too quickly to the surface. For minor air pockets, carefully smooth the bubble toward the nearest edge. Puncturing with a needle should be a last resort only, as it can leave visible marks and reduce water resistance. If the label starts off-center, don't try to pull it back forcefully. Some materials can stretch, the print may be damaged, and the adhesive can become uneven. With freshly applied labels, careful correction may still be possible, but this depends on the material and adhesive. The reliable approach is to replace the defective piece, so it's worth ordering a few extra labels.
Curling corners often result from inadequate surface preparation, glass that's too cold, or a label that's too large for the container's shape. In these cases, greater pressure isn't the real solution—eliminating the cause is: a cleaner surface, better sizing, or more durable material.
Small Series, Larger Quantities, and Production Reliability
For labeling ten to twenty glasses, the manual method is economical and well-controlled. For hundreds of pieces, setting up the workflow becomes critical: establish separate cleaning, positioning, and inspection stations. This makes the process faster and reduces the number of labels applied at inconsistent heights or angles. During print preparation, pay attention to bleeds, safety margins, and the label's final dimensions. Text placed too close may be difficult to read when cut or on the glass's curve. In the GetStickerz online configurator, size, shape, finish, and quantity can be assembled in advance, and file checking provides extra control before production. Visit getstickerz.eu/rolunk to learn more about how professional label preparation supports your brand.
The Impact of a Well-Applied Label
A properly applied label is far more than decoration. It clearly communicates the brand, neatly displays mandatory information, and gives customers the impression that every aspect of the product has been thoughtfully considered. Start with a test glass, let the label cure, and only then proceed with the full series—this is the simplest step toward consistently beautiful results. For assistance with custom label design and production, don't hesitate to contact getstickerz.eu/kapcsolat.