
17/10/2026
How to Order Kiss-Cut Stickers Online?
A well-designed kiss-cut sticker is not only more visually appealing but also more convenient to use. If you're looking for how to order kiss-cut stickers, the first question isn't what the graphic should look like, but how the sticker will be used: will you hand them out individually, put them in packages, add them to product samples, or sell them as sticker packs? The answer determines the size, sheet size, material, and order quantity as well. The essence of kiss-cut design is that the cut only follows the top layer of the sticker. The backing paper remains intact, which is why the sticker is easier to handle, store, and package. This is especially practical for sticker sheets with multiple designs, promotional packages, and brands that want to create an organized, premium impression from the moment it's held.
How to Order Kiss-Cut Stickers with the Right Specifications
The order will be quick and predictable if you start the configuration with the intended use in mind. For example, a cosmetics brand often looks for small, waterproof logo stickers for packaging, while an illustrator might produce sticker sheets containing multiple different graphics. The same kiss-cut technology can work for both purposes, but the size, layout, and surface will differ.
1. Decide Why Kiss-Cut Format is Beneficial
The difference between a kiss-cut sticker and a die-cut sticker lies in the backing. With die-cut, both the sticker and the backing are cut into the final shape, so each piece is separate. With kiss-cut, the sticker itself gets a unique contour, but the backing sheet remains rectangular or a custom size. Kiss-cut is a good choice if you want to place multiple stickers on one sheet, if fine details require easier peelability, or if you want to hand over the product in an organized, store-like format. For unique logo stickers, die-cut might be more direct, but for sticker packs and promotional sheets, kiss-cut is usually more practical.
2. Determine the Size and Sheet Layout
Don't just think about how large the graphic itself should be. The space around the sticker, the sheet edge, and the distance between stickers all affect the final result. With too tight a layout, peeling can become uncomfortable, and too much empty space makes the sheet less cost-effective. For small stickers, it's worth choosing a size where details remain readable. A tiny website address, complex illustration, or thin-line logo can easily lose its impact without magnification. If the sticker goes on packaging, measure the available surface and account for the space needed by labels, closure stickers, or other design elements.
3. Choose Material for Real-World Use
Good sticker material is not a general decision. It depends on where the sticker will go, what surface you're applying it to, and how much wear it needs to withstand. Premium vinyl is a good starting point when durability, clean printing, and moisture resistance matter. The glossy surface makes colors more vibrant, which is why it's a frequent choice for high-contrast logos, product promotions, and colorful illustrations. The matte surface is more understated, less reflective, and can convey a premium feel for, say, cosmetic, craft, or paper product brands. There's no one-size-fits-all version: the brand's visual style and usage environment determine the choice. If the sticker encounters water, steam, sunlight, or regular rubbing, lamination may be justified. This is especially useful for water bottles, glasses, outdoor packaging, tools, or long-term promotional stickers. For indoor, short-campaign stickers, extra surface protection isn't always necessary.
4. Create Print-Ready Graphics
The quality of production largely depends on the uploaded file. The safest choice is usually high-resolution PDF, PNG, or vector format. With vector graphics, logos, text, and lines remain sharp when scaled, making this especially advantageous for branding elements. With raster files, pay attention to resolution. An image that looks good on screen won't necessarily be suitable for printing, especially in smaller sizes. Blurry edges, pixelated text, and poor-quality logos can become even more noticeable on the finished sticker. Bleed is also an important detail. If the graphic or background color extends to the edge of the sticker, provide sufficient allowance beyond the cut line. This prevents thin, unwanted white borders from appearing on the finished piece. With custom contour cutting, the clear space around the graphic edge also helps achieve an aesthetic result.
5. Set Quantities Realistically
One advantage of kiss-cut stickers is that they can be ordered in small quantities. This is a good solution for test campaigns, introducing a new product line, entering the market as a brand, or seasonal graphics. You don't need thousands of units in stock to get a professional print. For larger quantities, however, the unit cost might be more favorable. If you use the same sticker regularly in order packages, on products, or at events, it's worth planning ahead for the coming weeks or months. However, too large a stockpile can be risky if packaging, logo, or campaign message changes.
The Online Process for Ordering Kiss-Cut Stickers
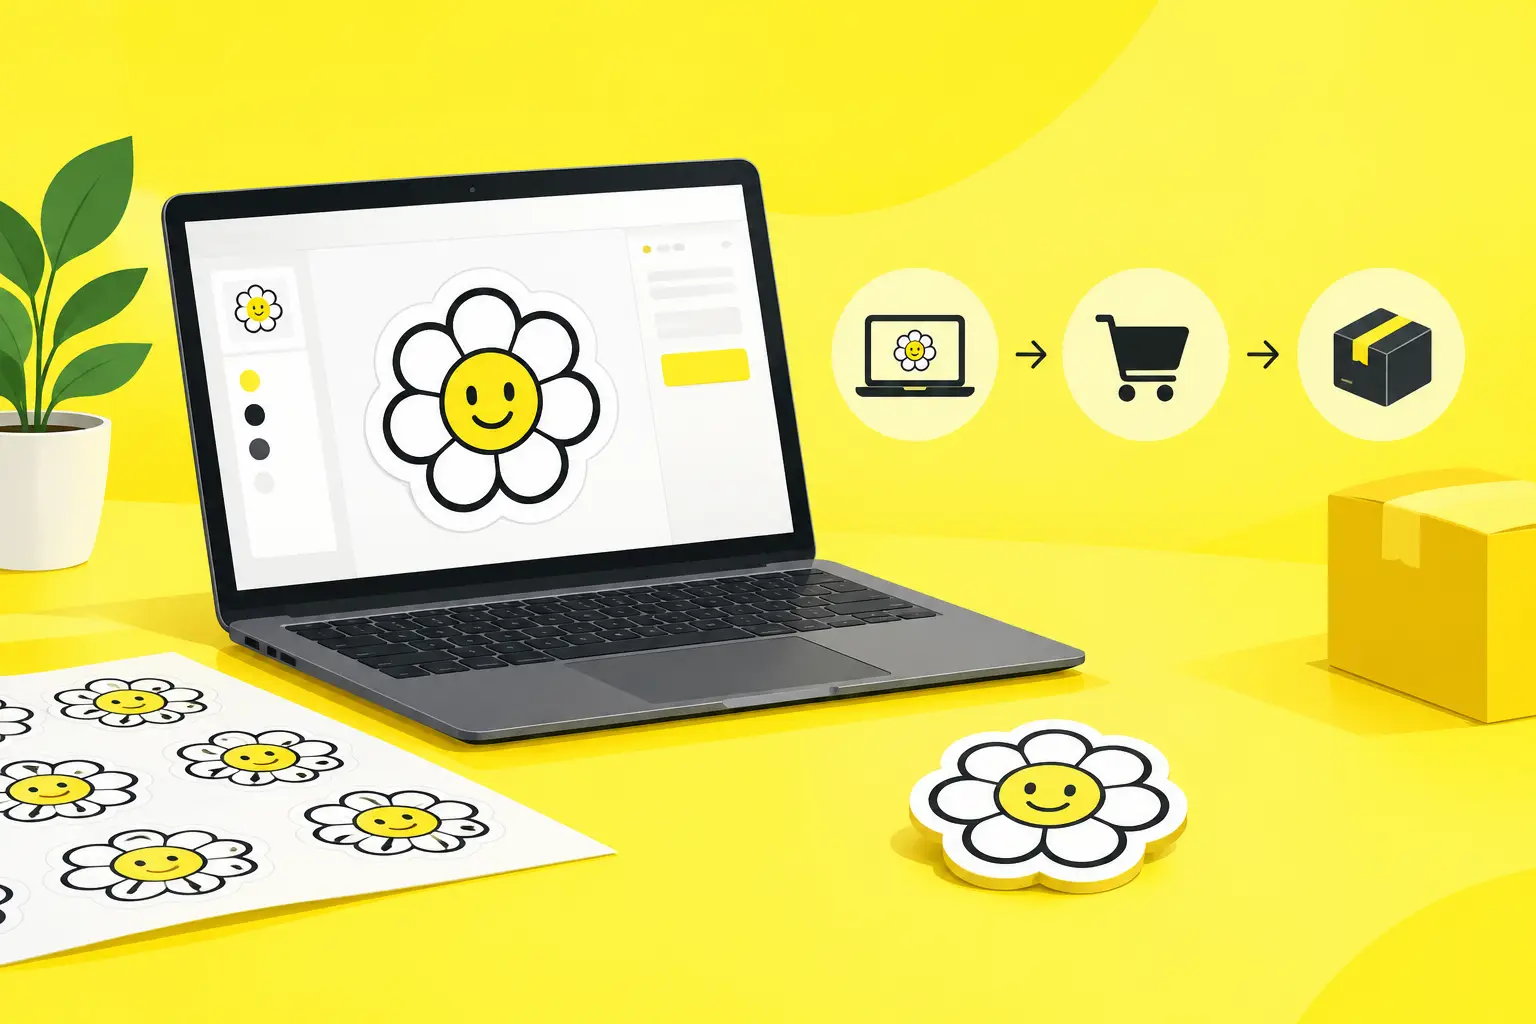
In a well-designed online configurator, the order doesn't need to become a lengthy printing negotiation. First, you select the product type, then specify the size, material, surface, quantity, and any lamination. The system shows the price instantly, so you can see how the cost changes with a different size or quantity before ordering. After uploading your file, it's worth double-checking every detail: the correct logo version, typos in text, dimensions, and whether the graphic truly follows the desired cut shape. For a product label, an incorrect ingredients list or wrong website address is a more serious issue than a one-time promotional sticker, so careful approval is especially important here.
In the GetStickerz ordering process, file checking happens within 24 hours, and a print preview can be requested for approval if needed. This is a useful safety checkpoint if you're ordering for the first time, introducing new design, or sending materials prepared by multiple team members for production. The preview doesn't replace an accurate graphics file, but it helps catch noticeable discrepancies before printing. Visit getstickerz.eu/#konfigurator to start configuring your order.
Common Mistakes That Cause Extra Rounds
The most typical problem is that the customer bases the decision on the digital mockup size, not the actual use. A sticker that appears large on a phone screen might be too small in real size for a box or glass. Print the design at home in approximate size, place it on the product, and only then finalize the parameters. Another common mistake is overly detailed graphics in small sizes. Thin white lines, miniature icons, and tiny text don't always reproduce the effect in print that you see on the monitor. If you're unsure, simplify the design or increase the sticker size.
Finally, consider the application surface. The sticker performs best on smooth, clean, and dry surfaces. On dusty, oily, heavily textured, or wet packaging, adhesion may differ. Always work from the real carrier material before production, especially with glass, kraft paper, recycled cardboard, or flexible plastic. For more information about available materials and options, visit getstickerz.eu/#termekek.
Creating Impact with Kiss-Cut Stickers
A well-thought-out kiss-cut sticker can simultaneously be a packaging detail, a brand-building tool, and a sellable product. If you align the size, material, and file with real-world use, ordering becomes a manageable step in your next campaign or product launch rather than a risky printing task. For questions or custom requests, feel free to reach out at getstickerz.eu/kapcsolat. You can also learn more about our approach at getstickerz.eu/rolunk.