07/06/2026
Product Sticker File Upload Step by Step
Why File Preparation Matters More Than You Think
If your label size is correct and the material is well chosen, but the graphics file is flawed, your order can still get stuck. Product sticker file upload step by step is therefore not just administrative tedium—it's one of the most critical points in production. A well-prepared file passes inspection faster, requires fewer follow-up questions, and has a much better chance of delivering exactly the result you want to see on your packaging.
Most errors don't happen in the design phase, but in preparation. Typical problems include resolution that's too low, missing bleeds, text that's too small to read, or uploading a file that wasn't created in the same dimensions you set in the configurator. These aren't rare cases, and they're usually easy to prevent if you have a clear process.
Start Here: Define Your Purpose First
Before uploading anything, decide exactly what you're using the sticker for. Different file preparation is needed for a small cosmetic label than for a larger promotional vinyl sticker. If the sticker is going on product packaging, size accuracy and readability are critical. If it's mainly for branding or decorative purposes, visual impact and form take priority.
This matters because your file doesn't need to be good in isolation—it needs to be suitable for that specific use. A plan that looks great on a monitor can print too dark, fine details can disappear, or text can be too small to read. The earlier you clarify the final purpose, the less likely you'll need to redesign after upload.
Step 1: Set the Final Size
The best starting point is always the finished product size. If you're ordering a 50 x 80 mm product sticker, your graphics file should be designed to that exact size. It's poor practice to upload a much larger or smaller design thinking the system or production will automatically adjust. Aspect ratio distortion is particularly risky. If your design was created for a square composition but you choose a narrower portrait orientation, the edges could crop off important elements.
Decide early whether your sticker will be cut to a circle, square, rectangle, or custom shape, since the shape affects safety margins and composition.
Step 2: Use Appropriate Resolution
Too low resolution is one of the most common problems in printing. As a general rule, 300 dpi at final size produces reliable results. If your file is significantly lower, the print will be dull, pixelated, or lacking detail. This is particularly visible with photos or textured graphics, but it can cause problems with logos and text too.
If you're uncertain, think about where the file came from. An image downloaded from a website is often unsuitable for printing, even if it looks sharp on screen. With vector files, this risk is smaller because elements don't lose quality when resized.
Step 3: Pay Attention to Bleeds and Safety Zones
When your background or graphics extend to the edge of the sticker, you need a bleed. This is the extra image edge that ensures no thin white line remains after cutting. Without a bleed, you might still get esthetic variations despite precise printing. Safety zones are equally important. Keep your logo, text, barcodes, and all essential elements further in from the cutting line. Cutting always has minimal tolerances, so information placed too close to the edge is risky. On an expensive brand identity, this is an unnecessary mistake.
What File Type Works Well for Upload?
The most stable solution is usually a print-ready PDF, but in many cases a well-prepared PNG, AI, or SVG file also works. Which is best partly depends on the graphics type. For logo-based, clean shapes, vector files are preferable. For photos or more complex visuals, a high-resolution raster file can work. What's less ideal is editable, incomplete, or unfinalized material. For example, if fonts aren't embedded, layers are disorganized, or the file contains guides and non-printable elements, it can slow down the checking process.
Not every error is a showstopper, but every bit of extra uncertainty means more coordination.
Step 4: Check Colors with Reasonable Expectations
Screen color and printed color won't always be completely identical. This isn't necessarily an error—it's the difference between digital display and printing technology. Be especially careful with very bright neon shades, deep dark tones, and subtle pastels.
If your brand color is critical, you need to prepare the file deliberately. You don't always need to approach the question from a highly technical angle, but it's good to know that excessive monitor brightness or the vividness seen on a phone screen can be misleading. The goal isn't perfect theoretical accuracy, but reliable results in print.
Step 5: Review Readability at Actual Size
Many product stickers fall into the trap of looking excellent at 100% zoom on screen but cluttered at real size. This is especially common with ingredient lists, instructions, address information, and legally required text. Always review your file at 100% scale. Fonts that are too thin, low contrast, and tight line spacing become much more noticeable problems after printing than during design.
There's no one-size-fits-all rule here, because a 30 mm lip balm label needs different readability than a 100 mm wide honey jar. But if it looks marginal now, in print it will likely be even tighter.
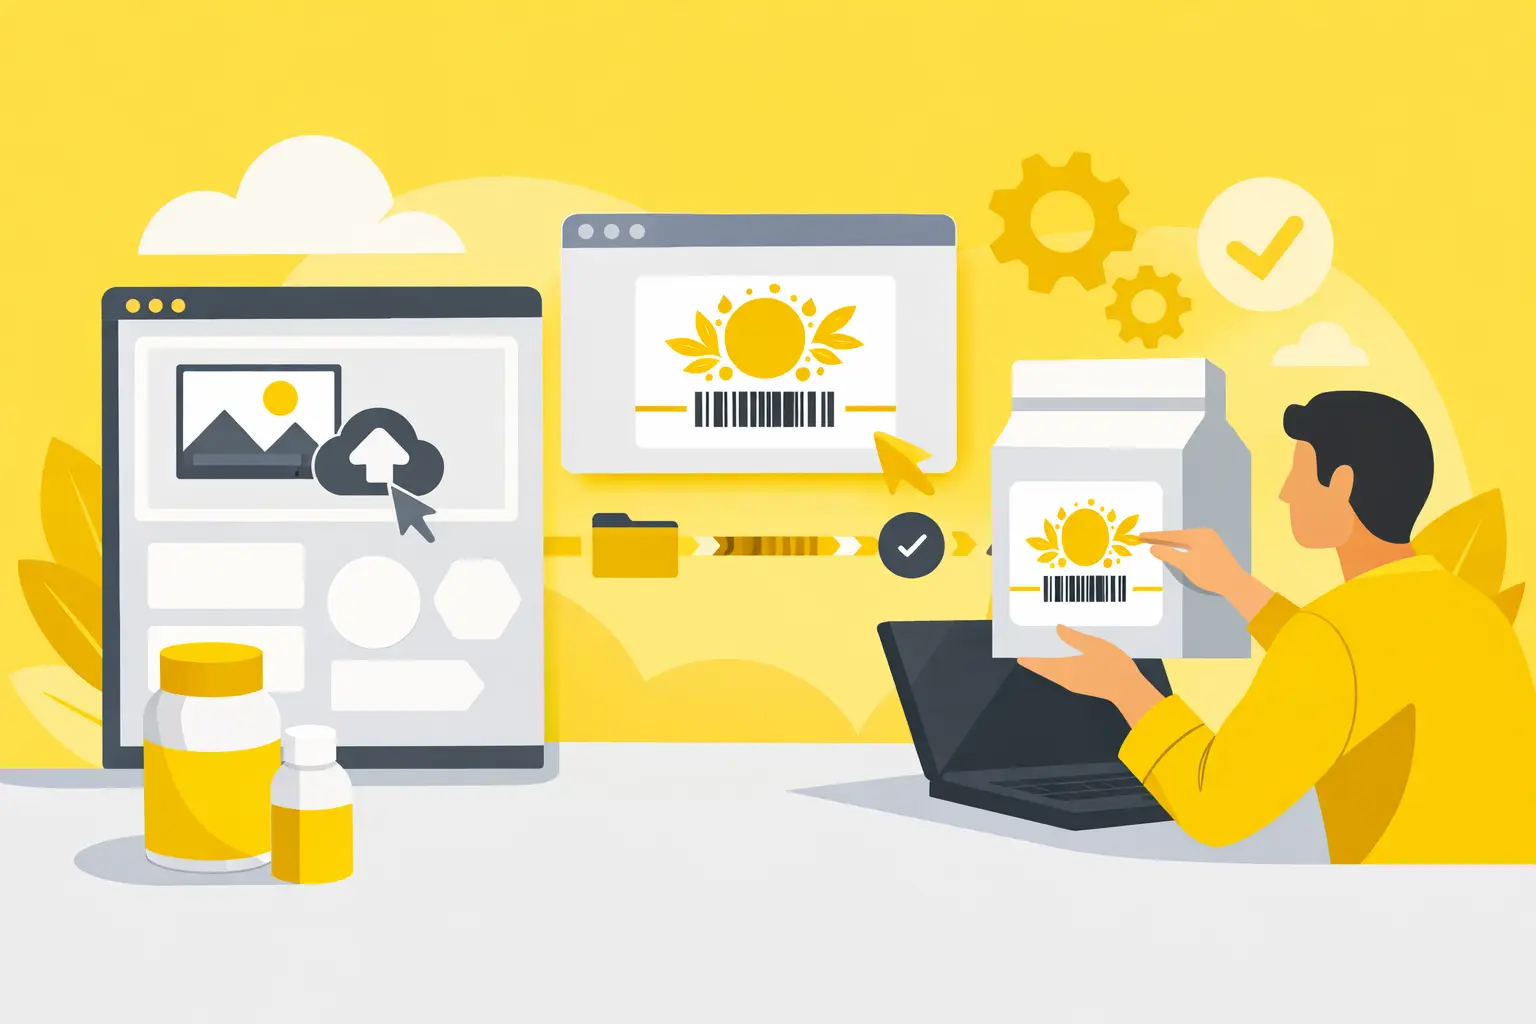
The Upload Process in Practice
Once size, shape, material, and quantity are set, comes the actual file upload. The goal is to get a clear, final, production-ready file into the system. If you have multiple versions, always upload the approved file, not an earlier draft. Use descriptive filenames, especially if you're working with multiple product variations. A name like "final_honey_70x40_gloss" is much more intelligible than "label_final2_reallyfinalversion". This seems trivial, but with multiple SKUs or flavor variants, it prevents a lot of confusion.
Step 6: Choose the Right Material and Finish, Aligned With Your File
Not every design behaves the same on gloss and matte. Dark, high-contrast graphics often look more vibrant on gloss surfaces, while a clean, premium cosmetic look often works better on matte stickers. Lamination can also affect the final appearance and durability.
If your sticker will be exposed to water, oil, rubbing, or outdoor use, factor this in when ordering. A good file alone isn't enough if the material choice doesn't match the application. Quality is always the combination of graphics, base material, and production settings. When you're ready to order, visit getstickerz.eu/#termekek to explore material options.
Step 7: Use Checking and Preview Approval
A reliable online ordering process doesn't stop at upload. File checking is useful because it filters out typical problems that would later lead to complaints or reprints. These can include incorrect size, insufficient resolution, or cutting risks.
In certain cases, it's especially worth requesting preview approval. This applies when you're introducing a new product, ordering large quantities, or when precise graphic positioning is important. It's an extra step, but not a wasted loop. It's better to go slowly at the beginning than to have expensive fixes at the end.
If you need personalized guidance, don't hesitate to reach out at getstickerz.eu/kapcsolat where our team can help with your specific requirements.
Common Errors That Show Up After Upload
One of the most common mistakes is when the file background is transparent, but the buyer expects white, or vice versa. This can easily cause misunderstandings, especially with clean packaging designs. A similar problem occurs when the cutting shape only exists as an idea but isn't clearly defined in the file. Problems also arise when text is placed too close to edges, barcodes are too small, or the uploaded version isn't the latest edited file.
These errors aren't necessarily visually obvious at first glance, yet they seriously affect usability. On a product sticker, functionality matters alongside design.
When to Request Help, When Basic Checking Is Enough
If you're ordering a simple logo sticker with good proportions and adequate resolution, basic file checking is usually sufficient. But if you have multiple variations, request complex custom cutting, or need to fit lots of required information in a small space, it's worth uploading with greater care.
In these cases, it's not the system that's complicated—the printing situation is more sensitive. Special attention is warranted for products made in series. If you later adapt a design for multiple flavors, scents, or sizes, it's worth structuring the original file so it can be consistently carried forward. This not only speeds up reordering but also reduces the chance of shifted dimensions and accidental version errors.
You can always explore the full product range and configurator at getstickerz.eu/#konfigurator to see exactly what options fit your needs.
The Payoff: Invisible Quality Work
A well-prepared file isn't a flashy extra—it's the part that does the work quietly for you. If you go through these points before uploading your product sticker file, production will be faster, more predictable, and safer. And when your package arrives, that's exactly the kind of peace of mind that makes it worth spending those five extra minutes at the beginning.
Learn more about our process and company approach at getstickerz.eu/rolunk to understand how we work with your files from upload to delivery.