23/09/2026
How to Apply Waterproof Stickers Bubble-Free
The appearance of a premium vinyl sticker is often determined not by the printing, but by the quality of application. Applying waterproof stickers bubble-free will truly be durable and professional when surface preparation, environmental temperature, and application technique are all done correctly. This is especially important for product packaging, glass bottles, cosmetic jars, vehicles, or outdoor equipment where stickers experience continuous use. Achieving bubble-free results doesn't require complicated machinery. However, it's worth taking your time: a well-prepared surface and a few simple tools can prevent waste, reprints, and unhappy customer experiences. Visit getstickerz.eu/#konfigurator to order custom waterproof stickers tailored to your needs.
Why Do Bubbles Form Under Waterproof Stickers?
A bubble doesn't always mean air. It could be a dust particle, oily residue, moisture, or slight unevenness in the surface lifting the film. The most common cause, however, is that the sticker adheres all at once, from the middle, or without control, leaving no path for air to escape toward the edges. Waterproof vinyl stickers are made with strong adhesive layers, so they bond quickly after positioning. This is an advantage for durability, but it also means you should carefully mark the exact placement before application.
The surface material also matters significantly. On smooth glass, metal, lacquered plastic, and evenly painted surfaces, achieving a good result is usually easy. On rough, porous, heavily textured, or silicone-containing surfaces, adhesion may be weaker. In such cases, bubble-free application alone isn't a guarantee that the sticker will remain stable long-term. Check getstickerz.eu/#termekek to see which products work best for your specific surface type.
Waterproof Sticker Application Bubble-Free: Step by Step
The correct process is simple, but each step plays a role. For smaller stickers, hand application can be precise; for larger graphics, a felt-edged squeegee or a clean, soft cloth wrapped around a plastic card is helpful.
1. Clean and Dry the Surface
First, remove dust, grease, fingerprints, and leftover label adhesive. For glass, metal, or hard plastic, isopropyl alcohol cleaning is reliable because it evaporates quickly and doesn't leave a greasy film. Then wait until the surface is completely dry. Don't apply to freshly washed, damp, or cold objects. Residual moisture can not only cause bubbles but also reduce adhesive bonding. When labeling products, be especially careful that bottles or jars aren't refrigerator-cold or have condensation on them.
2. Work at the Right Temperature
Most self-adhesive vinyl stickers behave most predictably at room temperature. In too-cold environments, the adhesive may be stiffer; in too-warm conditions, the sticker bonds faster than you can correct its position. As a practical starting point, 18-25°C in a dry room is ideal. For outdoor application, avoid strong wind, direct sunlight, and rain. Waterproof material is durable, but at the moment of application, a clean, stable work environment offers the best chance for a flawless result.
3. Mark the Exact Position
Don't try to eyeball where the sticker should go. Measure the distance from the edges, or use low-tack masking tape as a guide. When labeling multiple products, you can create a simple spacer so every sticker sits at the same height. For uniquely shaped stickers and transparent materials, this is especially useful. Precise positioning strengthens brand appearance, while even a few millimeters of misalignment can stand out across a product line.
4. Don't Peel Off the Entire Backing at Once
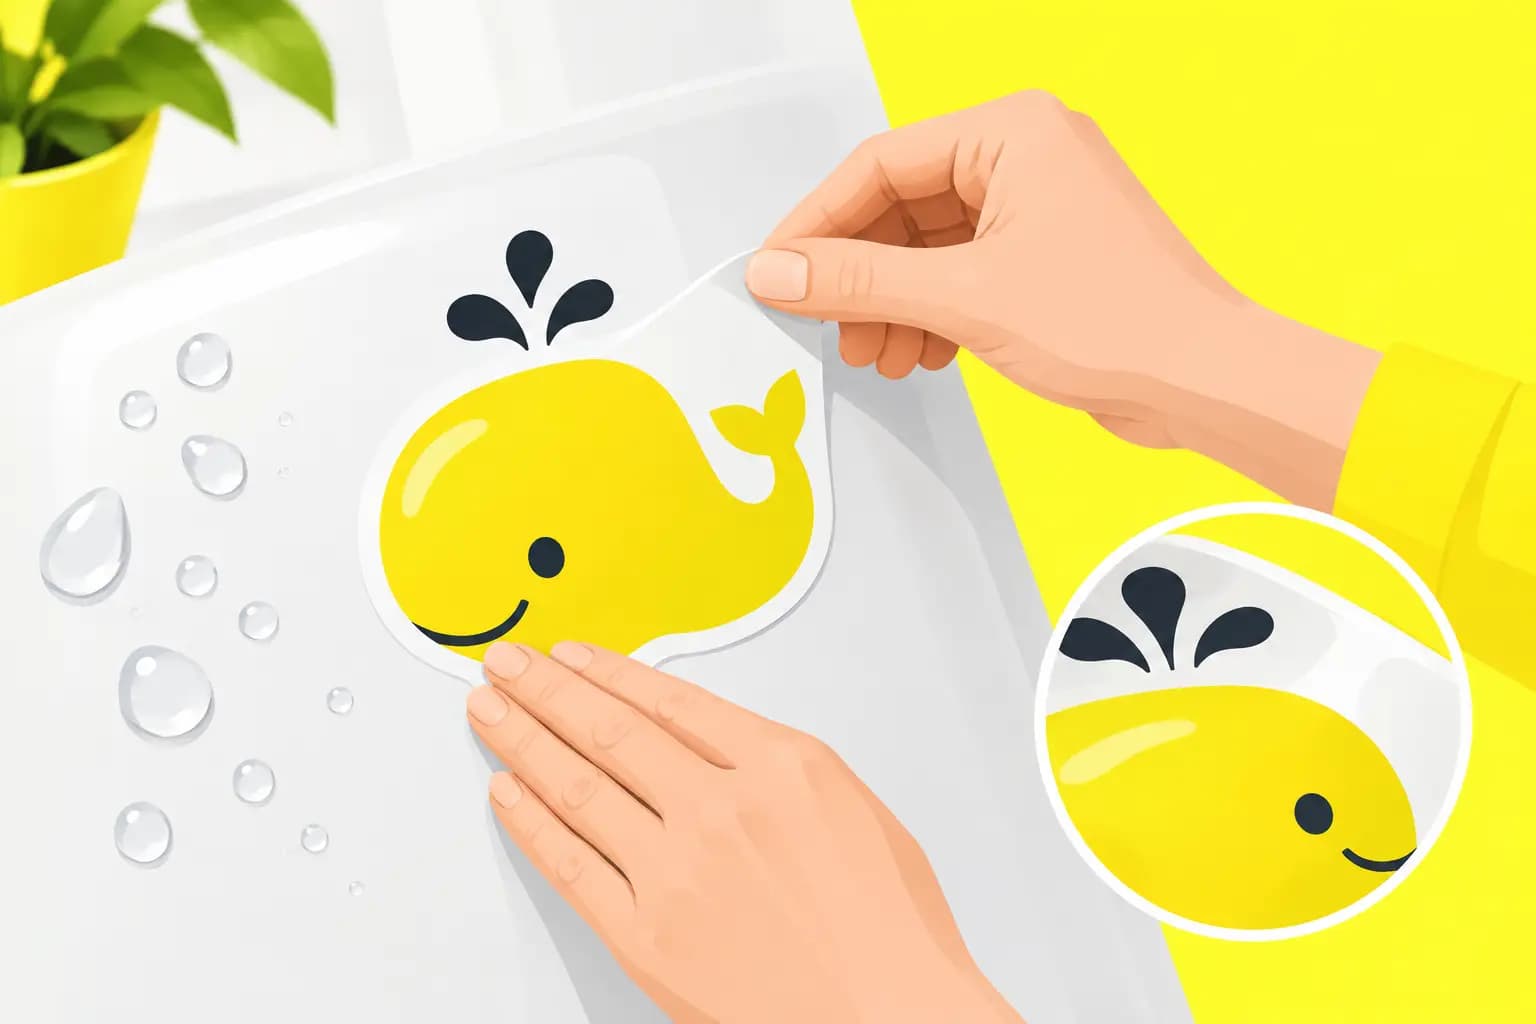
The safest method is to peel back only the top or one side of the backing paper, roughly 2-4 centimeters wide. Align this small area with your marked position, then gently secure it. Once the starting point is straight, the rest of the sticker is much easier to handle. Then gradually peel down the backing while smoothing from the applied section toward the free edge. The goal is to continuously guide air outward, not trap it in the middle of the sticker.
5. Smooth From the Middle Toward the Edges
Use your smoothing tool with even, moderate pressure. You don't need to press hard on the first pass, as this can trap a dust particle or misaligned section. Instead, make several overlapping strokes from the middle outward. For small, circular stickers, smoothing from one edge to the other works too. For larger rectangles, long labels, or complex shapes, smoothing outward from the center gives better control. Use a soft-edged tool on glossy laminated surfaces to avoid scratches.
6. Check the Edges and Let the Adhesive Cure
After application, smooth the entire sticker once more, especially at corners, narrow sections, and curves. On cylindrical bottles or jars, the edges take the most stress, so secure bonding here is critical. Full adhesive strength doesn't necessarily develop immediately. If possible, keep the labeled product in a dry, moderate-temperature location for 24 hours. After that, the waterproof sticker will be much more resistant to splashing water, hand washing, and everyday use.
What If a Bubble Remains Underneath?
Tiny air bubbles visible under a freshly applied sticker can often be smoothed out. With a soft cloth or felt-edged squeegee, gently guide them toward the nearest edge. Don't rub too hard, especially on printed, glossy, or laminated surfaces. If you can see a dust particle under the bubble, opening the sticker is risky. The strong adhesive can cause the film to stretch, curl up, or the print to tear. For small, clear air bubbles, a very fine needle prick can help: after the puncture, smooth the air toward the hole. Use this solution only as a last resort, as the hole will be slightly visible and may reduce perfect sealing on water-exposed surfaces.
For large bubbles, wrinkles, or crooked placement, using a new sticker is usually the better choice. For branded packaging, a defective label typically costs less than the impression left on a customer by a carelessly applied product.
Curved Bottles, Jars, and Difficult Surfaces
Flat surfaces are simplest, but many product packages are cylindrical or conical. For bottles, start at the center of the sticker and work in smaller sections in both directions. This reduces the chance of wrinkles forming. If the bottle's diameter changes significantly, a tall label is more prone to wrinkling, so it's worth adapting the label size to the surface geometry during design. Creases, grooves, indentations, and heavily structured plastics are compromises. For such surfaces, thinner, more flexible material and appropriately sized graphics may be a better choice, but a completely smooth end result can't always be expected.
Waterproofness isn't the same as a sticker bonding equally well to any surface. Visit getstickerz.eu/rolunk to learn more about how we match materials to applications.
Good Sticker Material Is Part of the Result
Application technique can only work if the base material suits the purpose. For indoor promotions, product marking, and packaging exposed to moderate moisture, quality vinyl is a good choice. For outdoor use, frequent handling, or strong UV exposure, lamination provides extra protection against scratching and fading. GetStickerz custom vinyl stickers are available in various sizes, shapes, and glossy or matte finishes, even in small quantities. File checking before production ensures the graphic, cut contour, and size are correct before printing.
Application, of course, still depends on the site, so it's worth testing the chosen surface on a few sample pieces. A carefully applied waterproof sticker not only stays attractive longer but also gives a more professional image of the product overall. Spend a few minutes on it, work on a clean surface, and smooth gradually instead of all at once—this way, the sticker will show the premium quality it was made with. For questions or custom orders, visit getstickerz.eu/kapcsolat to get in touch with our team.